 Save
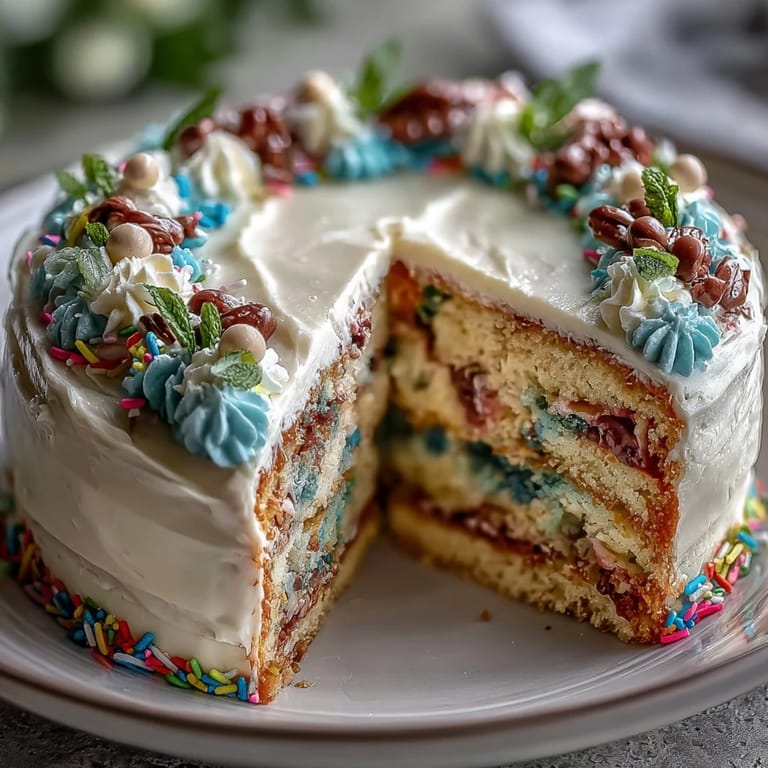
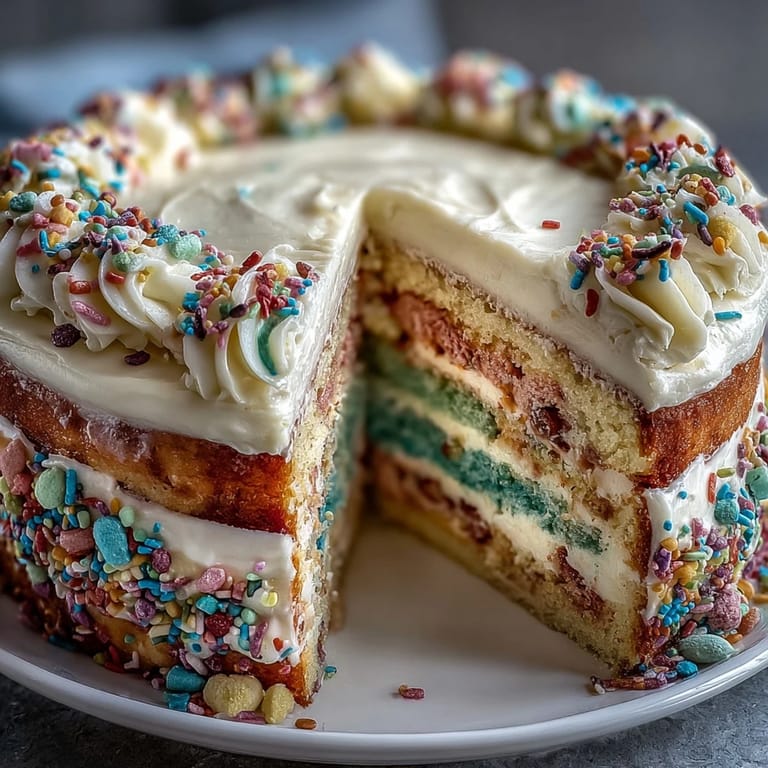
Save My friend texted me a photo of a piñata cake at a bakery—you know, those show-stopping cakes with candy spilling out when you slice into them—and I immediately thought, why am I paying someone else to make this? That evening, I started experimenting with rainbow layers and a hidden candy cavity, and what emerged was pure celebration in cake form. Now whenever Cinco de Mayo rolls around, this is the first thing I want to bake. The magic isn't just in the taste; it's that moment when someone cuts into it and their face lights up discovering the surprise inside.
I made this for my neighbor's daughter's eighth birthday party, and I'll never forget standing in the kitchen while she and her friends watched me cut into it through the kitchen window. The way they erupted when they saw all those candies tumbling out was worth every minute of prep work. My hands were shaking a little from the pressure, honestly—kid birthday parties hit different—but seeing her face made it one of those cooking moments I'll remember forever.
Ingredients
- All-purpose flour: Three cups gives you structure without being too heavy; room-temperature ingredients are your friend here because they cream together smoothly and create a tender crumb.
- Baking powder and baking soda: These two work together—the baking powder rises evenly while the soda ensures a tender texture, so don't skip either one.
- Unsalted butter and granulated sugar: Butter must be softened (leave it on the counter, not in the microwave) and sugar needs to be granulated, not brown, for the right crumb structure.
- Room-temperature eggs: This matters more than you'd think; cold eggs don't incorporate smoothly and can make the batter grainy.
- Gel food coloring: Gel, not liquid—liquid coloring adds moisture and can throw off your ratios, making the cake weep.
- Assorted small candies: Avoid anything with a hard shell or sticky coating that could melt into the cake layers; mini M&Ms, gummy bears, and sprinkles work beautifully.
- Butter and powdered sugar for frosting: Sift your powdered sugar beforehand so you don't end up with lumpy frosting; it's a small step that makes a real difference.
Tired of Takeout? 🥡
Get 10 meals you can make faster than delivery arrives. Seriously.
One email. No spam. Unsubscribe anytime.
Instructions
- Get your pans ready:
- Preheat the oven to 350°F and grease your three 8-inch round pans generously, then line the bottoms with parchment paper. This prevents sticking and makes cleanup so much easier.
- Mix your dry goods:
- Whisk together your flour, baking powder, baking soda, and salt in a medium bowl until they're evenly combined. This prevents lumps from forming when you add wet ingredients.
- Cream butter and sugar:
- Beat softened butter and sugar together for about three minutes until the mixture looks pale, fluffy, and slightly increased in volume. You're incorporating air, which creates a tender cake.
- Add eggs one at a time:
- Drop each egg in individually and beat well after each addition; if you dump them all in at once, the batter can look curdled and broken. Beat each one until fully incorporated and the batter looks smooth again.
- Incorporate vanilla:
- Mix in your vanilla extract until you smell that beautiful vanilla scent running through the whole bowl.
- Alternate dry and wet ingredients:
- Add one-third of the flour mixture, beat gently, then add half the milk, mix, add another third of flour, the rest of the milk, and finish with the final third of flour. This method prevents overmixing and keeps the cake tender.
- Divide and color:
- Create your rainbow:
- Split your batter into six bowls and add a different gel color to each, stirring gently until the color is evenly distributed. The batter should look vibrant but not dark.
- Pour into pans:
- If you have three pans, you'll need to bake in batches; pour two colored batters into two pans and bake while you hold the other colors covered at room temperature. For the second batch, wash and grease the pans again, then bake the remaining colors.
- Bake with patience:
- Bake each set for 15-18 minutes until a toothpick inserted in the center comes out clean with maybe a crumb or two. Don't open the oven door too early or you'll disturb the rise.
- Cool properly:
- Let the cakes cool in their pans for 10 minutes—this lets them set slightly so they don't fall apart—then turn them out onto wire racks to cool completely. This step matters; a warm cake is fragile.
- Cut your cavities:
- Once completely cool, use a 3-inch round cutter to carefully cut a hole in the center of four of your six layers, leaving the top and bottom layers whole. Twist gently rather than sawing to avoid crumbling the edges.
- Make your frosting:
- Beat softened butter until creamy, then gradually add sifted powdered sugar a bit at a time, alternating with small splashes of milk. This prevents lumps and keeps the frosting smooth and spreadable.
- Season to perfection:
- Add vanilla and a tiny pinch of salt; the salt sounds odd but it rounds out the sweetness beautifully.
- Begin assembly:
- Place your purple (or whichever color you chose for bottom) whole layer on your serving plate and spread a thin layer of frosting on top. Think of this as your foundation.
- Stack the cut layers:
- Place your first cut-out layer on the frosting and spread a light frosting layer on top; repeat with each cut-out layer, stacking them carefully. You're creating a ring-shaped cavity in the center.
- Fill with surprise:
- Pour your assorted candies into the center cavity, filling it generously but not so much that they spill when you add the top layer. This is the moment you'll be proud of.
- Crown your cake:
- Place your final whole layer on top, pressing gently so it sits evenly. Now your candy surprise is sealed inside.
- Frost the outside:
- Frost the entire outside of the cake generously with remaining frosting, using an offset spatula to smooth it or keep it rustic—both look festive. Add extra sprinkles, additional colored frosting, or festive decorations if you're feeling celebratory.
- Chill before serving:
- Pop the finished cake in the refrigerator for at least 30 minutes; the frosting will set and the cake will be easier to slice cleanly, which means less crumbling.
 Save
Save There's something about the combination of bright colors, hidden candy, and that moment of surprise that just captures the spirit of celebration. Every time I make this cake, I'm reminded that food doesn't have to be complicated to bring people joy—sometimes all it takes is a little color, a little planning, and a fun secret.
Why Six Layers Instead of Three
The first time I made a layered piñata cake, I tried using just three layers total and cutting out the middle one, which left me with barely any candy space and a wobbly structure. Making six individual layers means you bake twice but gain so much more control—four layers create the walls of your candy cavity while two whole layers seal everything in. It sounds like more work, but the structural integrity and the generous candy surprise make it worth the extra oven time.
The Room Temperature Ingredient Secret
I used to take everything out of the fridge right before baking and wondered why my cake sometimes looked slightly grainy or separated. Then a baker friend explained that room-temperature ingredients—especially eggs, milk, and butter—incorporate into the batter evenly without shocking the emulsion. Now I pull my eggs and milk out about an hour before baking, and I let my butter soften on the counter overnight. The difference is visible in how smooth and creamy the batter looks, and the final cake has a noticeably tender crumb.
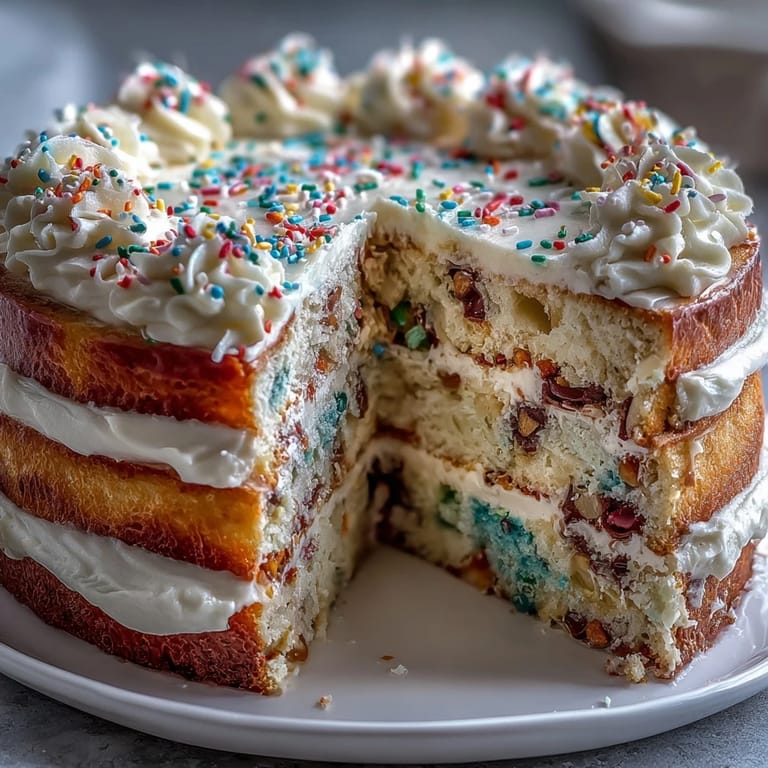
Troubleshooting Your Candy Surprise
Not all candies survive the baking process equally, and I learned this the hard way when I used regular chocolate chips in one version and they created dark streaks in the frosting. Mini M&Ms, hard gummies, sprinkles, and candies that stay firm at room temperature are your safest bets for the piñata filling. Anything with a soft center, anything that melts easily, or anything sticky should be avoided—the heat from the freshly baked cake layers and warm frosting will transform these candies into a gooey mess rather than a fun surprise.
- Choose hard candies or candies with protective coatings like M&Ms, not chocolate chips or caramels.
- Fill the cavity right before assembling so the candies stay as fresh and crunchy as possible.
- If you're making this ahead, store the assembled cake in the fridge and the candies will stay crisp longer.
 Save
Save This cake has become my signature celebration dessert, the one I'm known for making. There's real joy in watching people discover that sweet surprise inside.
Recipe FAQs
- → How do I achieve the vibrant colors in the cake layers?
Use gel food coloring to tint each portion of the batter before baking. Gel colors provide vivid hues without altering batter consistency.
- → What candies work best for the piñata center?
Small candies like mini chocolates, sprinkles, or gummy bears are ideal as they fit well in the cavity and don’t melt easily during serving.
- → Can I prepare the cake layers in advance?
Yes, the layers can be baked and cooled ahead of time. Store them wrapped tightly to keep them moist before assembly.
- → How do I prevent the cake from crumbling when cutting the centers?
Ensure layers are fully cooled and use a sharp round cutter to carefully remove centers, minimizing breakage.
- → What is the best way to frost and decorate the cake?
Apply a smooth base layer of vanilla frosting to seal crumbs, then add decorative touches with colored frosting or sprinkles for a festive look.