 Save
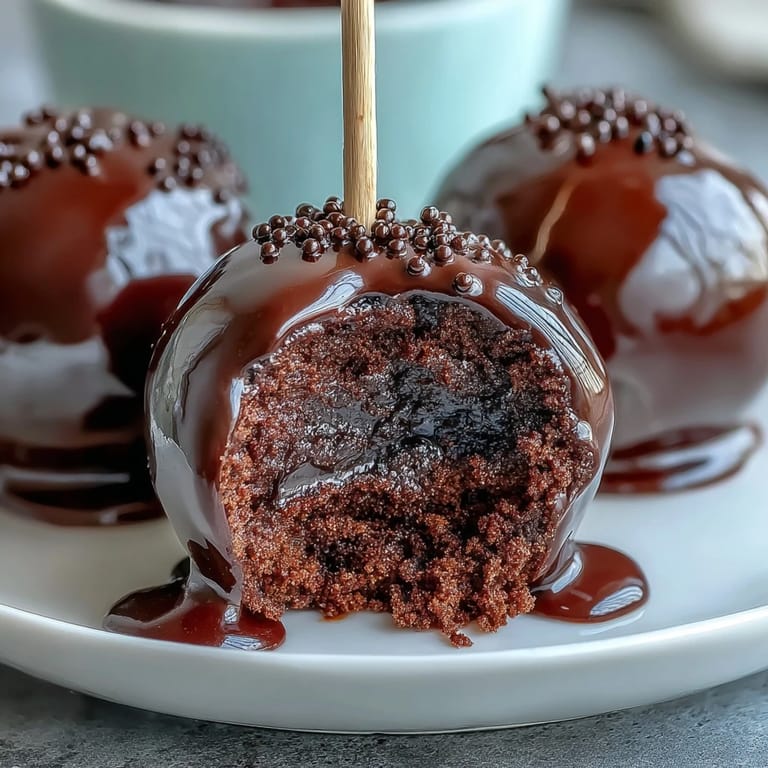
Save My kitchen smelled like chocolate and possibility last March when my neighbor mentioned she was throwing a St. Patrick's Day party. I wanted to bring something that would make people smile, something that felt celebratory without being obvious. That's when I thought of cake pops dressed up like tiny pots overflowing with edible gold. The moment I rolled the first one and held it up to the light, watching how the black coating would frame those golden accents, I knew I'd found something special.
I'll never forget watching my daughter's face when she saw the finished pops lined up on my counter that evening. She walked past them twice, studying each one like they were museum pieces, before finally asking if she could have one. That's when I realized this recipe wasn't just about the taste, but about creating a moment where something homemade feels genuinely magical.
Ingredients
- 1 box (400 g) chocolate cake mix: Use a quality mix because this is literally your base, and cutting corners here means less chocolatey goodness in every bite.
- 120 g (½ cup) chocolate frosting: Store-bought works perfectly fine and saves time, but homemade frosting gives you better control over the mixture's consistency.
- 400 g (14 oz) black candy melts: These are the star of the coating, so grab them from the baking aisle and don't substitute with regular chocolate unless you want a messier situation.
- 48 g (2 oz) gold sprinkles or edible gold pearls: This is where the magic happens, so invest in actual edible gold instead of regular sprinkles that won't catch the light the same way.
- 24 lollipop sticks: Get sturdy ones that won't bend under the weight of the coating.
- 50 g (1.75 oz) white candy melts (optional): Keep these on hand for piping details that make the pots look extra polished.
- Green fondant or sprinkles (optional): A tiny shamrock accent on top completes the whole festive vibe.
Tired of Takeout? 🥡
Get 10 meals you can make faster than delivery arrives. Seriously.
One email. No spam. Unsubscribe anytime.
Instructions
- Bake and crumble:
- Follow the cake mix package directions completely, then let that beautiful chocolate cake cool all the way down before touching it. Crumble it into fine, even pieces using your fingers or a fork, almost like breadcrumbs.
- Create the mixture:
- Fold the chocolate frosting into those crumbs, stirring until everything comes together into something that looks like play dough. If it feels too wet, let it sit uncovered for a few minutes.
- Roll and shape:
- Scoop portions using a cookie scoop or your hands, roll them into balls about the size of walnuts, then gently press the top to flatten it slightly so it resembles a pot opening. This is meditative work, so go slow.
- Chill the first time:
- Spread these on parchment paper and pop them in the fridge for 30 minutes so they firm up and won't fall apart when you dip them.
- Prepare for dipping:
- Melt your black candy melts according to the package instructions, stirring gently so you don't incorporate air bubbles. Dip each stick's tip into the melted coating, then push it halfway into a chilled cake ball.
- Set the sticks:
- Give them 10 minutes in the fridge so the sticks are truly anchored before you dip the whole thing.
- The full dip:
- This is the satisfying part, where each cake pop gets its black coat. Work quickly but deliberately, letting excess drip off, then stand it upright in your styrofoam block.
- Gold while wet:
- Before the coating even thinks about setting, sprinkle that edible gold on top while the surface is still slightly tacky. The timing here is everything.
- Optional piping:
- If you're feeling fancy, use melted white or black candy melts in a piping bag to add a delicate rim around the top of each pot. This detail makes people ask where you bought them.
- Shamrock accents:
- Add a tiny green fondant shamrock or green sprinkle cluster to the side if you want that extra St. Patrick's Day touch.
- Final set:
- Let everything sit undisturbed at room temperature until the coating is completely hard and glossy.
 Save
Save There's something about making cake pops that transforms you from someone following a recipe into someone creating edible art. The day I brought these to that party, I watched people reach for them hesitantly, almost respectfully, and then their whole faces changed when they bit into that soft, chocolatey center.
Why Candy Melts Matter More Than You Think
Candy melts are different from chocolate in ways that matter for this project. They don't require tempering, they set faster, and they create that smooth, professional-looking shell that makes these look like you worked at a bakery. Regular chocolate would give you a bitter taste and unpredictable texture, so trust the melts here.
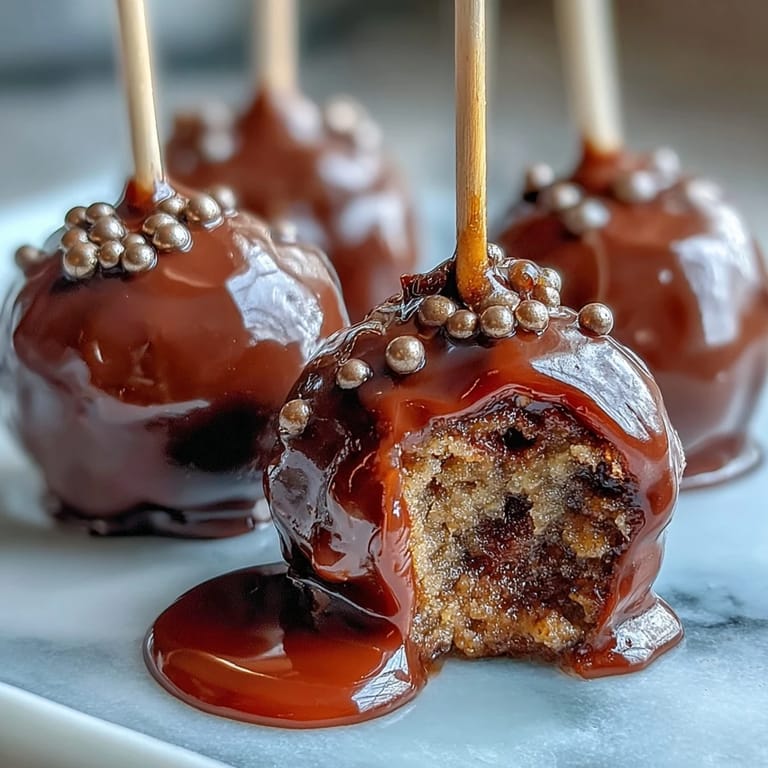
The Gold Is the Whole Story
The real magic isn't the chocolate or the shape, it's those golden accents catching light. I learned this the hard way when I used regular gold-colored sprinkles and they looked flat and tired. Real edible gold or pearl dust creates dimension and makes people feel like they're holding something precious, even though it's basically fancy cake.
Storage and Serving Secrets
These keep beautifully for three days in an airtight container at room temperature, which makes them perfect for planning ahead. They're sturdy enough to pack in boxes for gifts or transport to parties, and they're equally happy served solo or alongside Irish coffee on a cold afternoon.
- Stack them point-down in your container with parchment between layers so the gold doesn't rub off.
- If you're making these for an event, prepare them the day before so you're not stressed on party day.
- They're naturally gluten-free if you use gluten-free cake mix, so check your labels if you're serving people with dietary needs.
 Save
Save These cake pops have become my answer to the question of what to bring when you want to show up with something thoughtful but not complicated. They're the kind of recipe that reminds you why cooking for people matters.
Recipe FAQs
- → How do I shape the cake balls to resemble pots?
After mixing the cake crumbs with frosting, roll into balls then slightly flatten the tops to mimic a pot shape before chilling.
- → What is the best way to coat the pops evenly?
Dip each pop fully into melted black candy melts, allowing excess to drip off before standing upright to set.
- → Can I customize the decoration colors?
Yes, adding green fondant or sprinkles creates shamrock accents to enhance the festive look.
- → How long should the cake pops chill before decorating?
Chill the shaped cake balls for about 30 minutes, and after inserting sticks, chill another 10 minutes to set firmly.
- → What storage method keeps the pops fresh?
Store in an airtight container at room temperature for up to three days to maintain freshness and texture.